Creating a Lithograph
Plate on the Press
I first learned printmaking while in graduate school at Massachusetts College of Art and Design. I experimented with several different printing processes but the one I focused the most on was call Paper Plate Lithography. For part of my thesis, I created the series I now call The Genealogy of Hair. In 2019 as part of my exploration on ‘Perception’, I revisited this series to include more diversity and inclusion of other cultural ethnic groups. I realized after I completed the series the first time most of the hair styles were primarily silhouettes of White Western European and North American hairstyles through the ages. So, for this expansion, I specifically researched hair styles of Black Women with guidance and consultation from my dear friend and fellow artist collaborator Tya Anthony, who is African American. As this is not something I have first-hand experience and or knowledge of, I wanted to make sure I was being respectful and thoughtful in my selection of hairstyles.
With the research complete, the next step is to make the paper plate. I do this by creating a black silhouette of the image. I first scaling the hairstyle to the desired size and then trace the image on frosted mylar. Once traced, I color it in with a black sharpie marker to make it as black and evenly colored as possible. Next, I xerox the image on a standard copy machine and cut it down to the desired size – this is the paper plate that will be used to make the lithograph.
Inking the Plate
With the plate made, the next step is to saturate the paper with a gum Arabic: water mixture removing any extra liquid from the surface of the paper. Then I roll out the ink, adding a small amount of thinner so that the ink mixture is the consistency of butter. Using a standard printmaking brayer, I roll the ink over the saturated paper plate. The ink sticks to the black of the photocopy but not the saturated white paper. Because the paper is delicate at this stage, it is important to not over roll or aggressively apply the ink.
Once the ink is evenly applied, I move the plate to the printing press and place it on a piece of beveled plexiglass. While these steps are taking place, I’ve been soaking the paper that I will print on in a water bath. For these prints, I prefer to use Reeves BFK paper. Before I place the paper on the plate, I pull the paper out of the water bath and remove any excess water with a cloth towel. With the plate on the press, I carefully place the prepped paper over the plate, I then place a piece of newsprint paper over the paper and the press blankets over the newsprint. The purpose of the newsprint paper is to both absorb any extra water from the paper and to protect the press blankets. I then roll the print through the press.
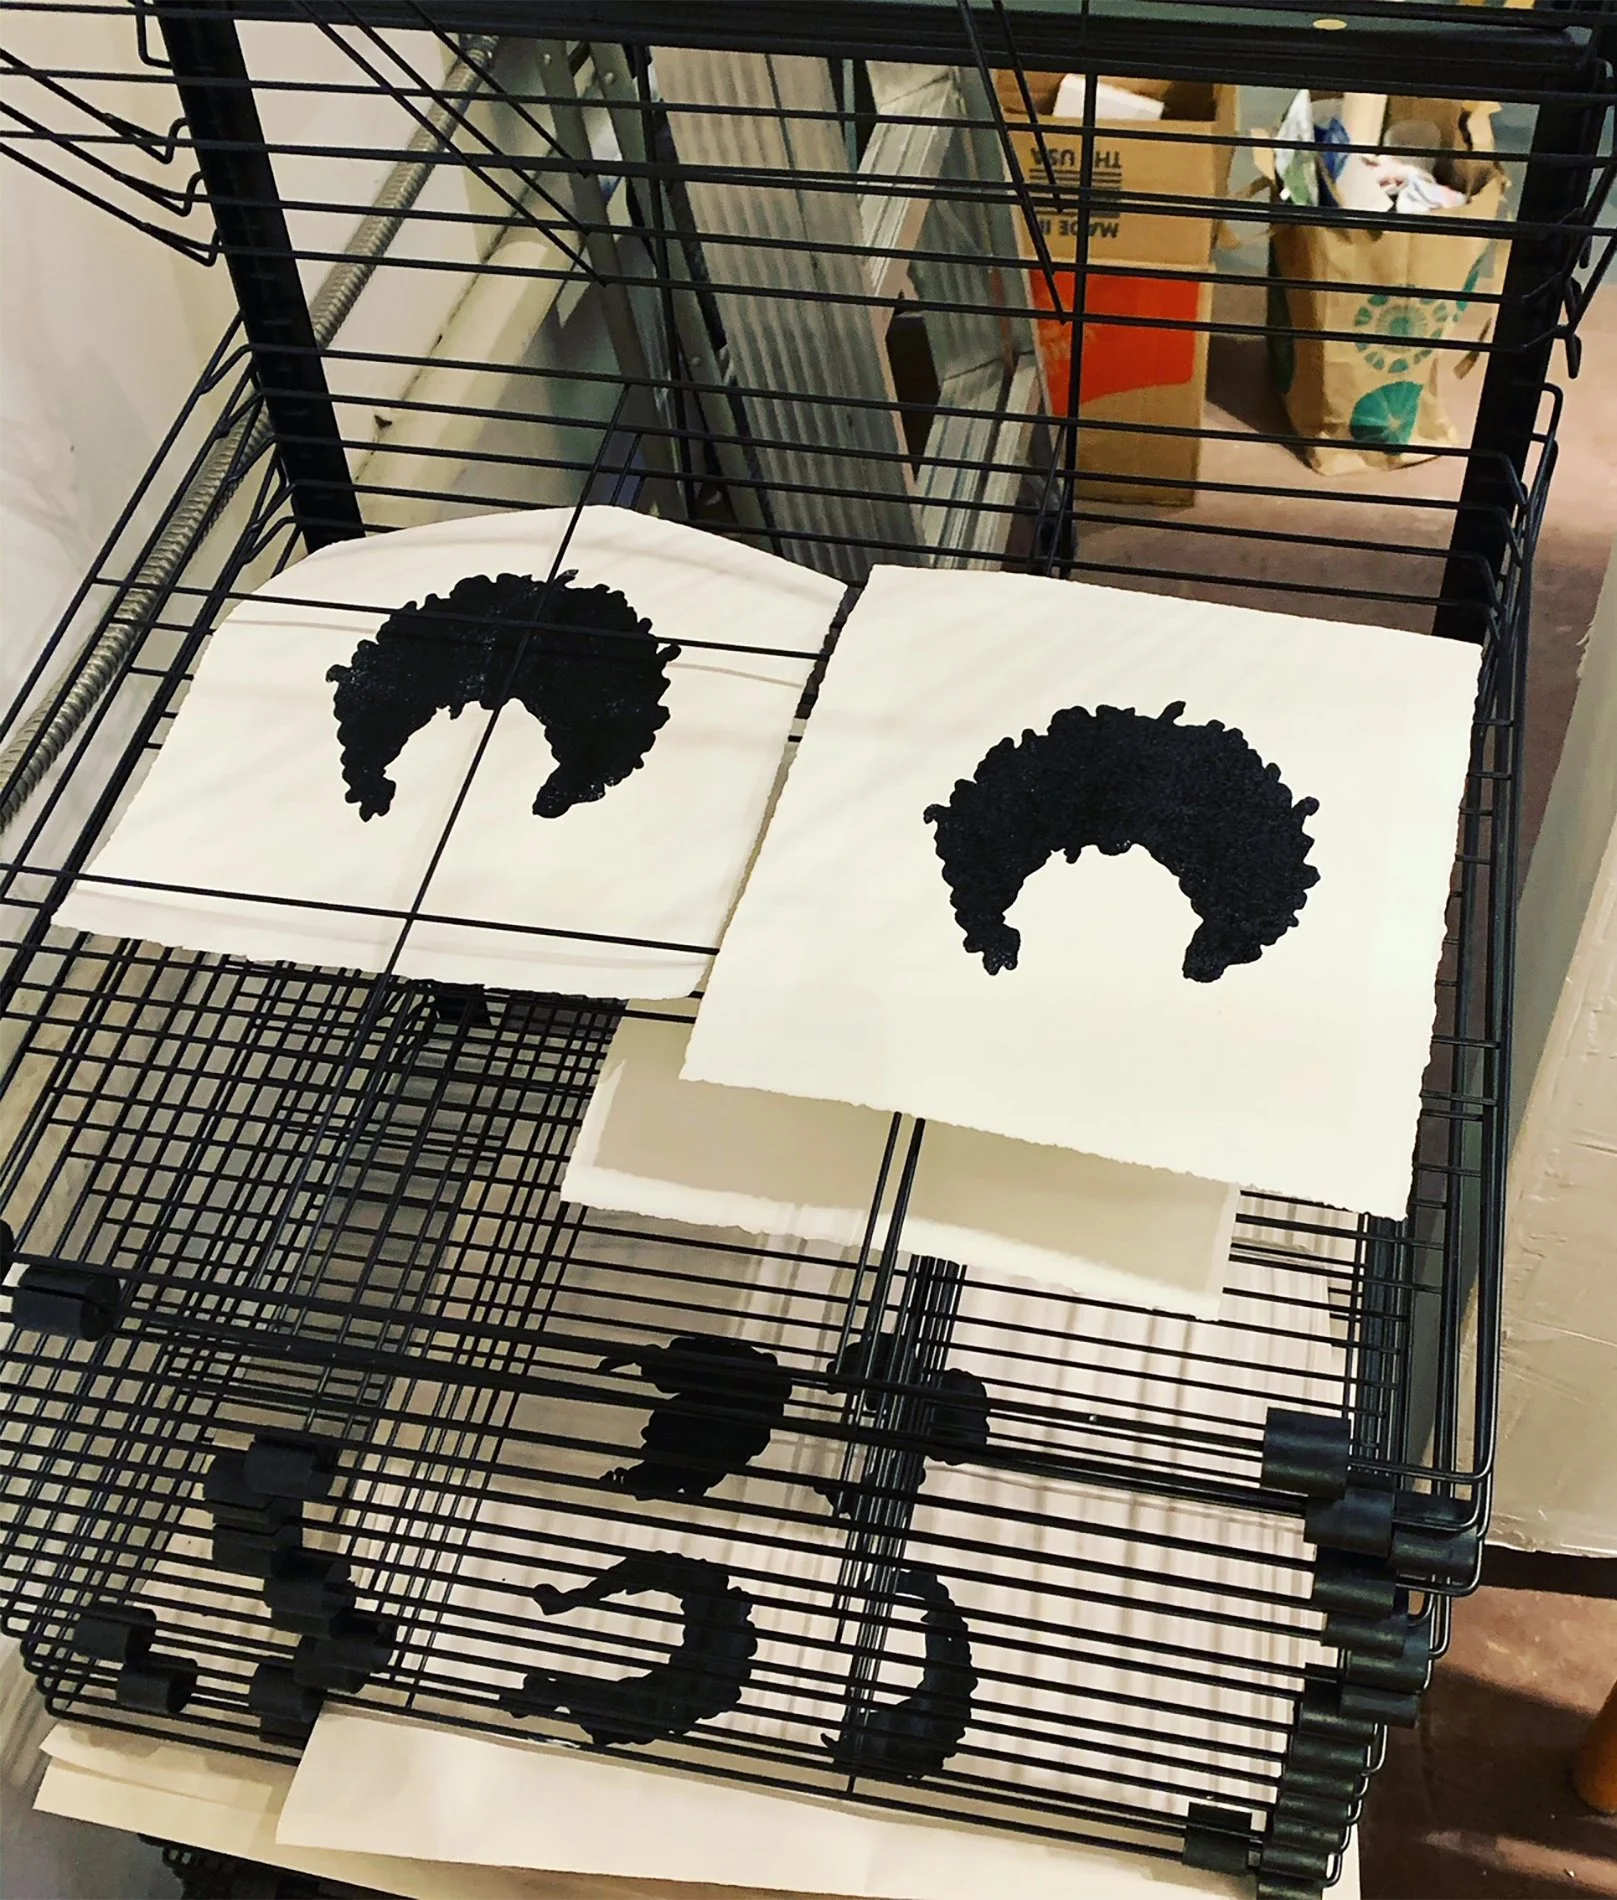
Prints on Drying Rack
After it goes through the printing press, I then carefully pull back the blankets, the newsprint paper and peel back the Reeves BFK paper and if all goes well, I have a unique one-of-a-kind print! Even though I run a series of prints of the same image, each one is slightly different as the ink never adheres the same and the irregularities are what make each print original.
For this edition, I printed four different hairstyles on a larger scale than the original series. I did this intentionally so that this series could stand on its own or be included as part of the original Genealogy of Hair.
Lithographs on Display


